Table of Contents
What you will read?
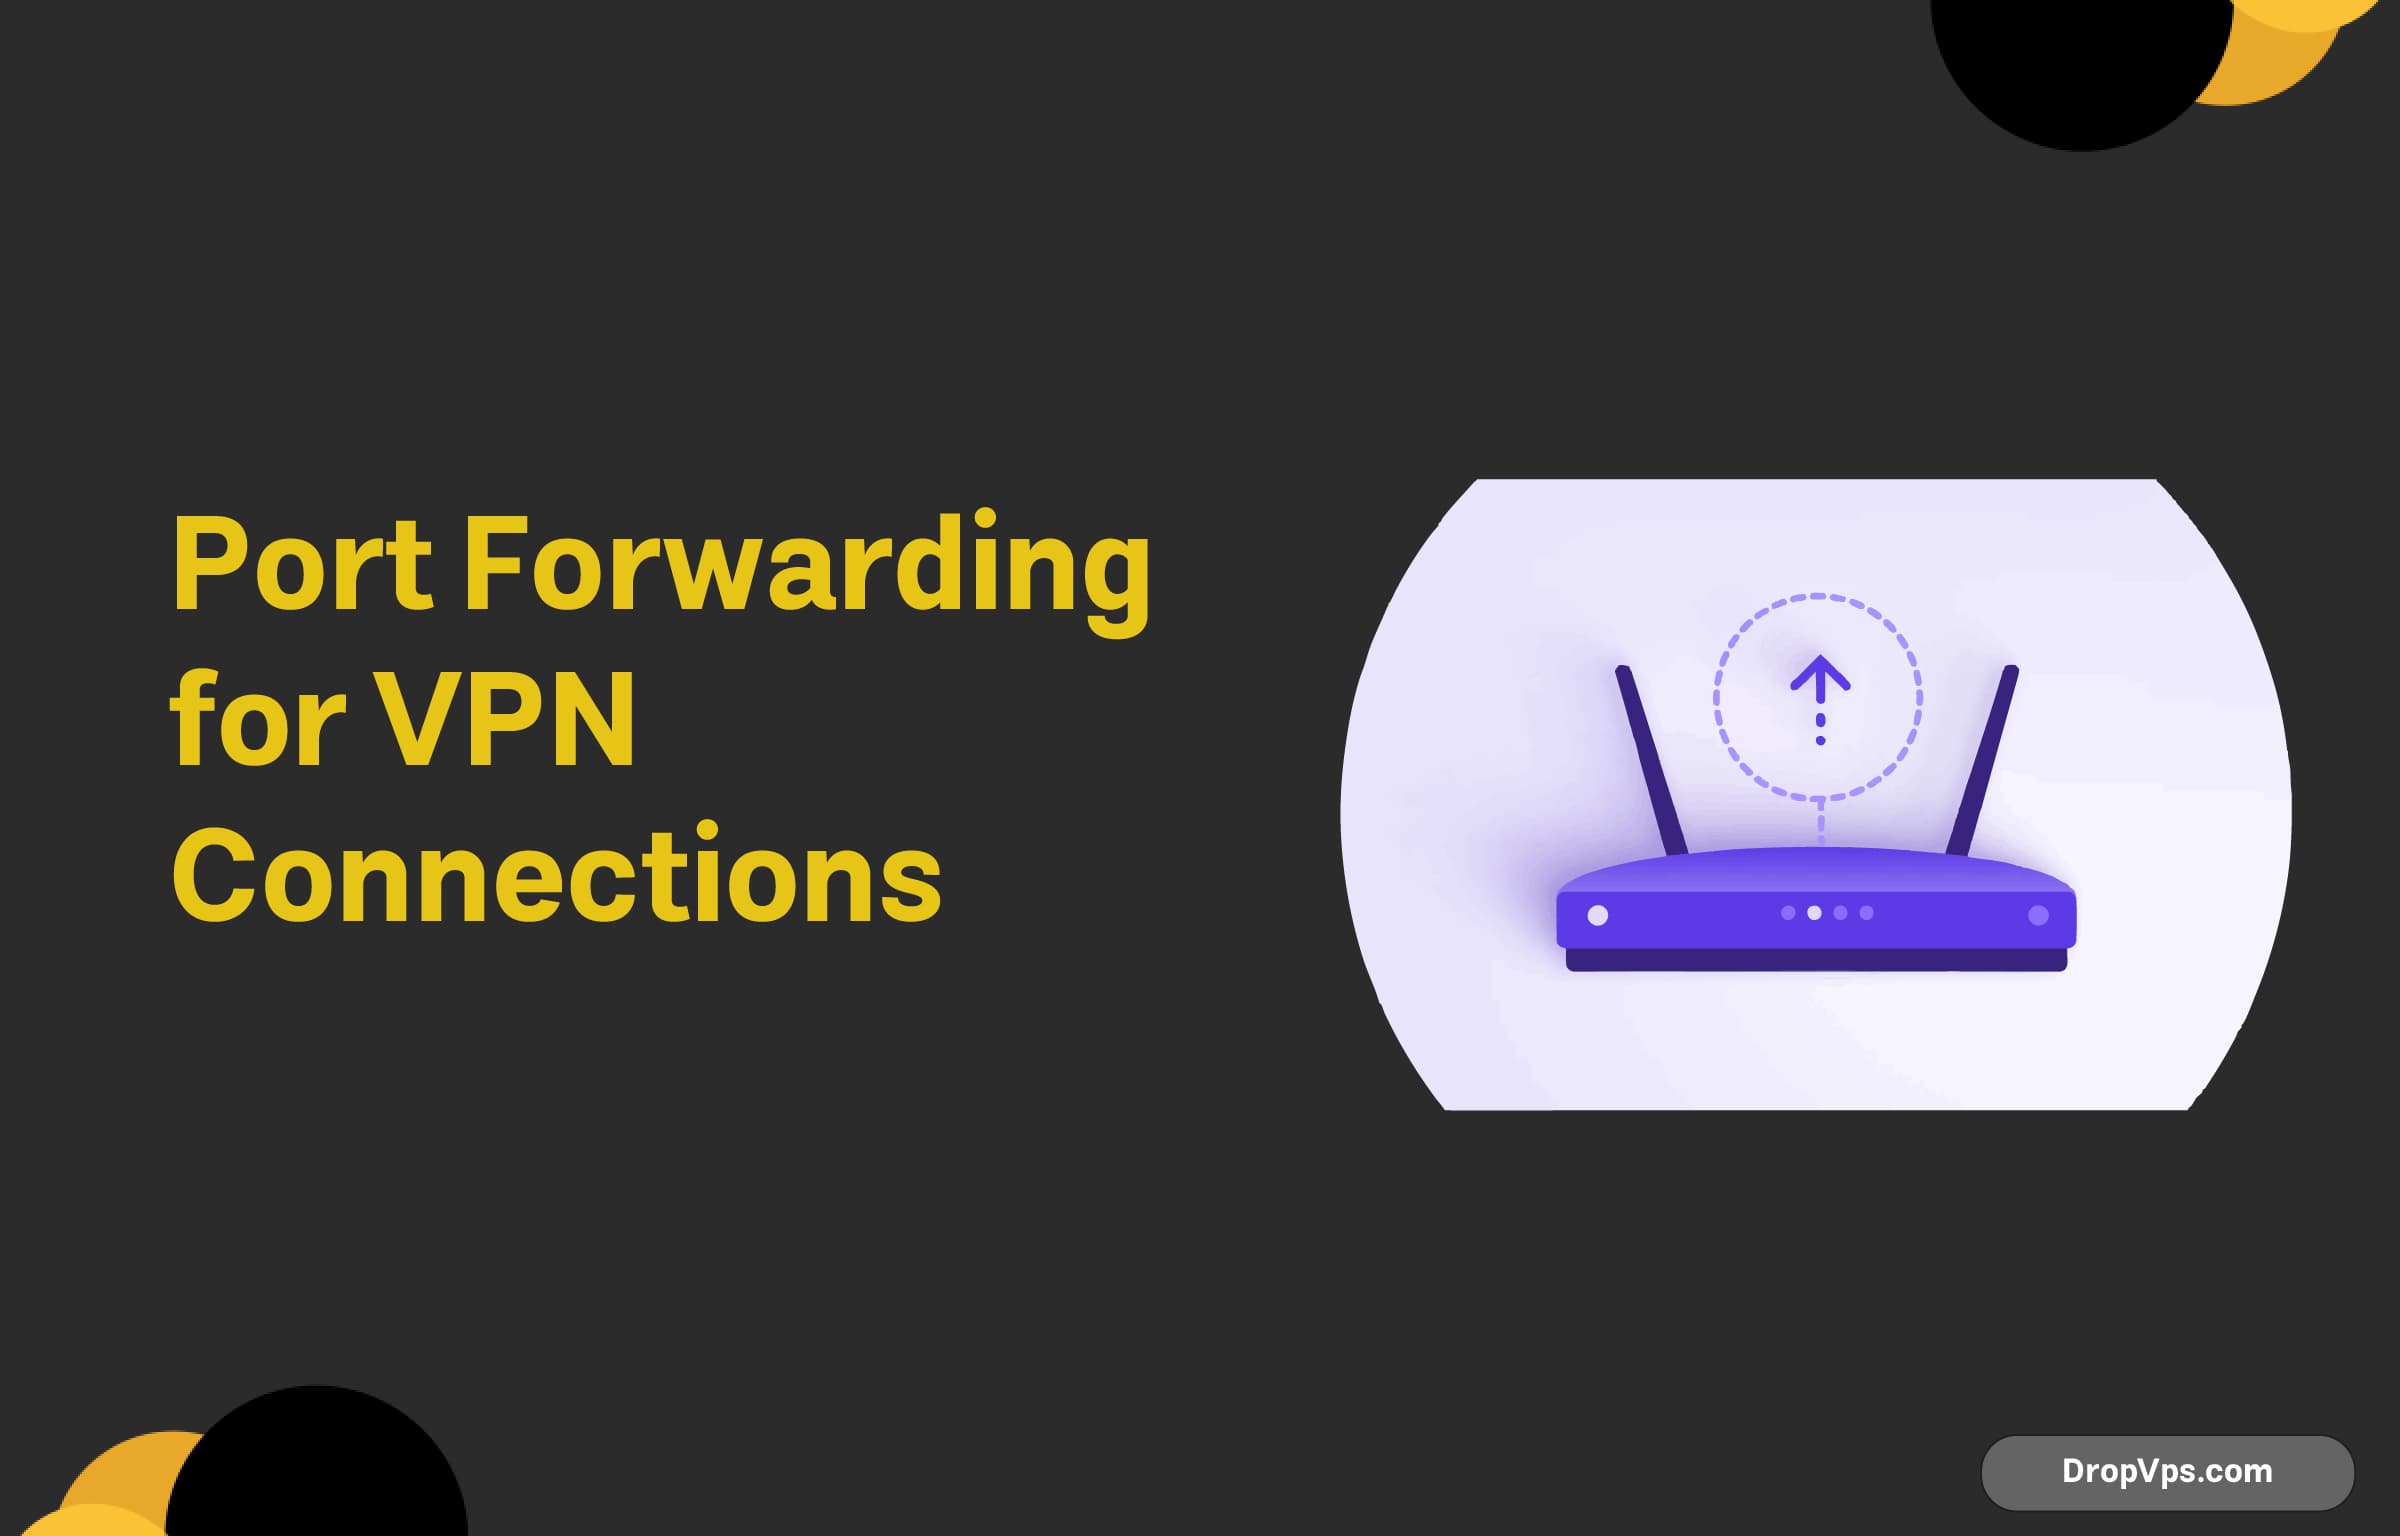
Port forwarding is an essential step for ensuring that VPN traffic can properly reach the VPN server from the client side, especially when you’re behind a router or firewall that may block or restrict certain ports. VPN connections rely on specific ports to establish secure communication between the client and the server, and when you’re setting up a VPN server or connecting to one, you may need to configure port forwarding to ensure smooth and uninterrupted access.
Why Port Forwarding is Needed for VPN Connections
In a typical home or office network, routers act as barriers between devices and the wider internet, controlling incoming and outgoing traffic. Routers, by default, do not allow external devices to directly connect to a specific port on a device inside the network unless a port forwarding rule is set. This can prevent VPN connections from establishing if the router blocks the ports required by your VPN protocol.
Port forwarding allows you to map an external port (on the router) to an internal port (on the device running the VPN server). When a connection request is made to the external port, the router forwards it to the VPN server’s internal port, enabling the connection.
How to Set Up Port Forwarding for VPN
- Determine Which Ports Are Required:
Different VPN protocols use different ports. For example:- PPTP: Port 1723 (TCP)
- L2TP/IPsec: Port 1701 (UDP) for L2TP, Ports 500 and 4500 (UDP) for IPsec
- SSTP: Port 443 (TCP)
- IKEv2: Ports 500 and 4500 (UDP)
Ensure you know which ports are needed for your specific VPN protocol before configuring port forwarding.
- Access Your Router’s Admin Panel:
To set up port forwarding, you’ll need to access the router’s administrative settings. This is typically done by entering the router’s IP address in a web browser. Look for a section called Port Forwarding or Virtual Server. - Add Port Forwarding Rules:
In the router’s port forwarding section, add rules for each port that the VPN protocol requires. For instance:- For PPTP, you’d forward port 1723 (TCP).
- For L2TP/IPsec, forward port 1701 (UDP) and the IPsec ports (500 and 4500 UDP).
- For IKEv2, forward ports 500 and 4500 UDP.
In the router’s interface, specify the internal IP address of the device that will host the VPN server and the corresponding port numbers.
- Save the Settings and Reboot the Router:
After entering the port forwarding rules, save the settings and reboot your router to apply the changes. This ensures that the router forwards VPN traffic to the correct internal IP address. - Configure the Firewall:
In addition to port forwarding, ensure that your firewall (either on the router or on the device running the VPN server) allows the necessary ports. Without opening these ports on the firewall, the forwarded traffic may still be blocked. - Test the Connection:
Once port forwarding is configured, test the VPN connection to ensure that the router is correctly forwarding the traffic to the VPN server. You can do this by trying to connect from an external network or using online tools to verify that the necessary ports are open.

Need a Linux Server for This?
Run Debian, Ubuntu, or any Linux distro on DropVPS — fast NVMe SSD, full root access, and 24/7 support. Perfect for everything you just read.
- Full Root Access
- Debian & Ubuntu Ready
- 99.99% Uptime
- 24/7 Support
No commitment · Cancel anytime