Table of Contents
What you will read?
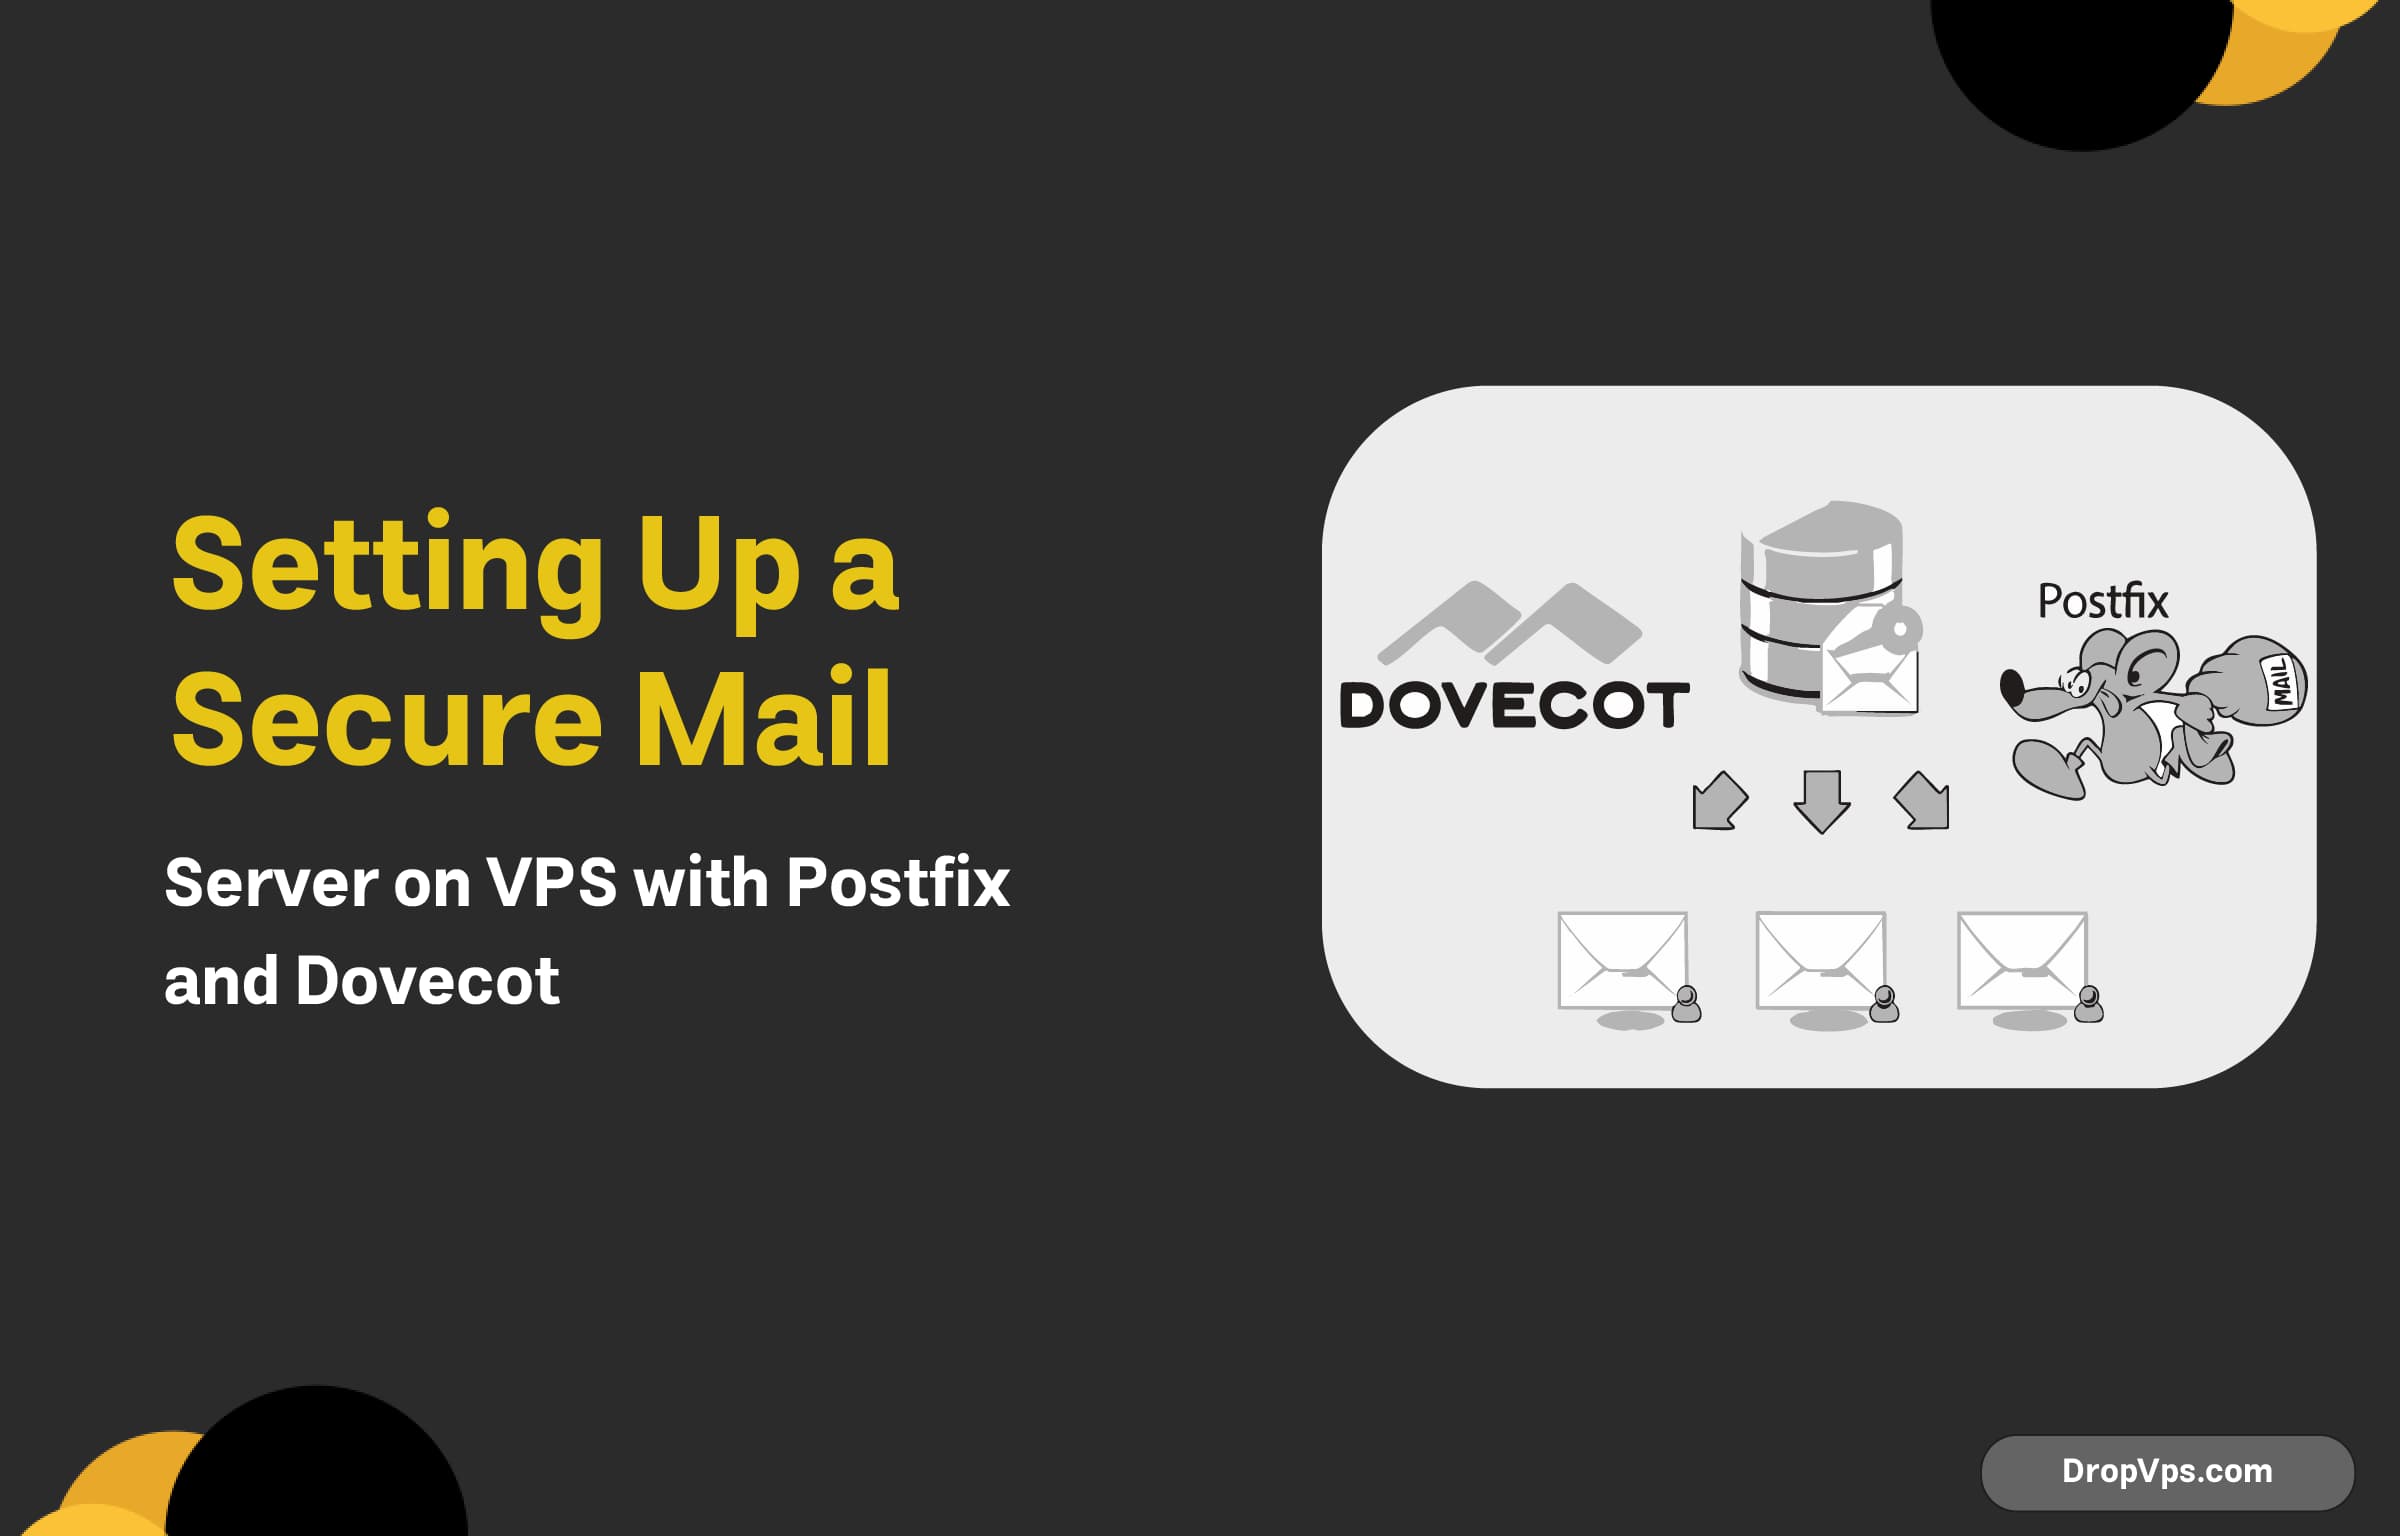
Postfix and Dovecot are among the most popular and reliable open-source solutions for setting up a secure mail server on a VPS. Postfix handles the sending and receiving of emails via the Simple Mail Transfer Protocol (SMTP), ensuring efficient mail transfer. Dovecot, on the other hand, manages email storage and retrieval through protocols like IMAP and POP3, providing users with access to their emails.
The combination of Postfix and Dovecot offers a robust solution that balances performance, scalability, and security. Together, they enable a complete mail server setup, suitable for individuals and businesses looking to maintain control over their email communications without relying on third-party services.
Installing Postfix and Dovecot on VPS
To set up a secure mail server on your VPS using Postfix and Dovecot, follow these steps to install and configure both software packages.
Step 1: Update Your System
Before installing any software, it’s important to update your system’s packages to ensure everything is up-to-date. Run the following command:
sudo apt update && sudo apt upgrade -yStep 2: Install Postfix
Postfix is the mail transfer agent (MTA) that will handle sending and receiving email. To install Postfix, use the following command:
sudo apt install postfix -yDuring the installation, you will be prompted to configure Postfix. Choose the “Internet Site” option, which is suitable for most VPS setups.
- System mail name: This should be your domain name (e.g., example.com).
Step 3: Install Dovecot
Dovecot is the mail delivery agent (MDA) that handles email storage and retrieval via IMAP/POP3. Install Dovecot using the following command:
sudo apt install dovecot-core dovecot-imapd -yStep 4: Verify Installation
After the installation, verify that both Postfix and Dovecot are installed and running correctly:
sudo systemctl status postfix
sudo systemctl status dovecot
If both services are running, you’ve successfully installed Postfix and Dovecot on your VPS.
Step 5: Check for Errors
To ensure there are no installation errors, check the logs for both services:
sudo tail -f /var/log/mail.log
sudo tail -f /var/log/dovecot.log
Once both services are installed and running, you can move on to configuring them for secure email delivery.
Configuring Postfix for Outgoing Mail
After installing Postfix, you need to configure it to handle outgoing mail properly. This involves setting up domain settings, SMTP authentication, and security options. Below are the essential steps for configuring Postfix for outgoing mail on your VPS.
Step 1: Configure Postfix Main Settings
The main configuration file for Postfix is located at /etc/postfix/main.cf. Open it for editing:
sudo nano /etc/postfix/main.cfEdit or add the following lines:
- myhostname: Set this to your domain name.
myhostname = mail.example.com - mydomain: Set this to your domain name.
mydomain = example.com - myorigin: Specify the domain that outgoing emails will appear to come from.
myorigin = /etc/mailname - inet_interfaces: Bind Postfix to listen on all interfaces or a specific IP address.
inet_interfaces = all - mydestination: Defines the domains that Postfix will handle mail for.
mydestination = $myhostname, localhost.$mydomain, localhost, $mydomain - relayhost: Configure the relay host if you’re using an external mail server for relaying outgoing mail (optional).
relayhost = [smtp.yourmailserver.com]:587
Step 2: Enable SMTP Authentication
Postfix supports authentication when sending mail to prevent unauthorized use. To enable SMTP authentication, ensure the following lines are present in the /etc/postfix/main.cf file:
smtpd_sasl_auth_enable = yes
smtpd_sasl_security_options = noanonymous
smtp_sasl_auth_enable = yes
smtp_sasl_password_maps = hash:/etc/postfix/sasl_passwd
smtp_sasl_security_options = noanonymous
Step 3: Set Up SASL Authentication
Create or edit the /etc/postfix/sasl_passwd file to store the SMTP credentials for the relay server.
sudo nano /etc/postfix/sasl_passwdAdd the following entry (replacing with your SMTP server details):
[smtp.yourmailserver.com]:587 yourusername:yourpasswordSave and close the file. Then, secure the file and generate a hash for Postfix:
sudo chmod 600 /etc/postfix/sasl_passwd
sudo postmap /etc/postfix/sasl_passwd
Step 4: Restart Postfix
After making all the changes, restart Postfix to apply the new configurations:
sudo systemctl restart postfixStep 5: Verify the Configuration
To check if Postfix is sending outgoing emails correctly, you can test it by sending a test email:
echo "Subject: Test Email" | sendmail [email protected]Check the mail logs for any errors:
sudo tail -f /var/log/mail.logIf everything is configured correctly, Postfix should now be able to send outgoing mail securely through your VPS.
By completing these steps, you’ve configured Postfix to handle outgoing mail on your VPS. It’s essential to test the setup thoroughly to ensure everything works as expected, including SMTP authentication and sending email through a relay if required.
Setting Up Dovecot for Incoming Mail
Dovecot is a popular IMAP and POP3 server for handling incoming email on your VPS. This step will guide you through the process of configuring Dovecot to securely manage incoming mail for your server.
Step 1: Install Dovecot on Your VPS
If you haven’t installed Dovecot yet, start by installing it using the following command:
sudo apt update
sudo apt install dovecot-core dovecot-imapd dovecot-pop3d
This will install the necessary packages for both IMAP and POP3 protocols.
Step 2: Configure Dovecot for IMAP and POP3
The primary configuration file for Dovecot is located at /etc/dovecot/dovecot.conf. Open this file to configure Dovecot settings:
sudo nano /etc/dovecot/dovecot.confEnsure the following lines are included to enable IMAP and POP3 services:
protocols = imap pop3This will allow both IMAP and POP3 for email retrieval. If you only need IMAP, you can omit pop3.
Step 3: Configure Mailbox Location
Dovecot needs to know where your mailboxes are stored. This is specified in the /etc/dovecot/conf.d/10-mail.conf file. Open the file for editing:
sudo nano /etc/dovecot/conf.d/10-mail.confFind and edit the mail_location line to reflect the correct location for mail storage:
mail_location = maildir:/var/mail/vhosts/%d/%n/MaildirThis configuration ensures that each user will have their email stored in their own directory.
Step 4: Configure Authentication Methods
Next, configure Dovecot to use a secure authentication method. Open the /etc/dovecot/conf.d/10-auth.conf file:
sudo nano /etc/dovecot/conf.d/10-auth.confEnsure the following lines are set to secure the authentication process:
disable_plaintext_auth = yes
auth_mechanisms = plain loginStep 5: Configure SSL/TLS Encryption for Secure Connections
To secure communication between clients and the Dovecot server, enable SSL/TLS encryption. Open the /etc/dovecot/conf.d/10-ssl.conf file:
sudo nano /etc/dovecot/conf.d/10-ssl.confMake sure the following lines are configured for SSL:
ssl = yes
ssl_cert = </etc/ssl/certs/mail.example.com.crt
ssl_key = </etc/ssl/private/mail.example.com.key
Replace the certificate and key paths with your actual SSL certificate files.
Step 6: Enable and Start Dovecot
Once you’ve completed the configuration, start the Dovecot service:
sudo systemctl enable dovecot
sudo systemctl start dovecot
This will ensure Dovecot starts on boot and runs continuously.
Step 7: Test Incoming Mail
To verify that Dovecot is working correctly, you can try to connect to the server using an email client (e.g., Thunderbird, Outlook) or the command line via IMAP or POP3:
telnet mail.example.com imapYou should be able to authenticate and access your email.
Step 8: Check Logs for Errors
If you encounter any issues, check the Dovecot logs for more information:
sudo tail -f /var/log/mail.logBy following these steps, you’ve successfully set up Dovecot to manage incoming email on your VPS. Secure SSL connections and proper authentication will ensure that your server handles incoming mail efficiently and securely. Always test your setup to ensure that your mail server is running as expected and that clients can access their mailboxes securely.
Configuring SSL/TLS for Secure Mail Transmission
SSL/TLS encryption ensures that email communication between clients and your mail server is secure, protecting sensitive information during transmission. This step-by-step guide will show you how to configure SSL/TLS for secure mail transmission using Postfix (for outgoing mail) and Dovecot (for incoming mail).
Step 1: Obtain an SSL Certificate
Before configuring SSL/TLS, you need an SSL certificate. You can use a self-signed certificate for testing or obtain a trusted certificate from a Certificate Authority (CA) for production.
- To generate a self-signed certificate, use the following commands:
sudo mkdir /etc/ssl/mail sudo openssl req -x509 -nodes -days 365 -newkey rsa:2048 -keyout /etc/ssl/mail/mail.key -out /etc/ssl/mail/mail.crt - If you have a certificate from a trusted CA, you will receive
.crtand.keyfiles for your mail server.
Step 2: Configure Postfix for SSL/TLS
Postfix will handle outgoing mail, so you need to configure it to use SSL/TLS for secure communication.
- Open the Postfix configuration file:
sudo nano /etc/postfix/main.cf - Add or modify the following lines to enable SSL/TLS for outgoing mail:
smtp_use_tls = yes
smtp_tls_security_level = may
smtp_tls_note_starttls_offer = yes
smtpd_tls_cert_file = /etc/ssl/mail/mail.crt
smtpd_tls_key_file = /etc/ssl/mail/mail.key
smtpd_tls_security_level = may
This configuration enables TLS for Postfix, using the SSL certificate and key you created or obtained.
- Reload Postfix to apply the changes:
sudo systemctl reload postfix
Step 3: Configure Dovecot for SSL/TLS
Dovecot handles incoming mail, so you also need to configure it to use SSL/TLS for secure communication.
- Open the Dovecot SSL configuration file:
sudo nano /etc/dovecot/conf.d/10-ssl.conf - Ensure the following lines are set to enable SSL/TLS for incoming mail:
ssl = yes ssl_cert = </etc/ssl/mail/mail.crt ssl_key = </etc/ssl/mail/mail.key ssl_protocols = TLSv1.2 TLSv1.3 ssl_ciphers = HIGH:!aNULL:!MD5:!3DES- Replace the paths with the correct paths to your SSL certificate and key files.
- Reload Dovecot to apply the changes:
sudo systemctl reload dovecot
Step 4: Enable STARTTLS for Secure Connections
STARTTLS allows email clients to upgrade an unencrypted connection to a secure one. This can be enabled for both Postfix and Dovecot.
- In the Postfix configuration (
/etc/postfix/main.cf), ensure the following line is present to enable STARTTLS:smtpd_tls_protocols = TLSv1.2 TLSv1.3 - In the Dovecot configuration (
/etc/dovecot/conf.d/10-ssl.conf), make sure STARTTLS is enabled for IMAP and POP3:ssl_disable = no ssl_protocols = TLSv1.2 TLSv1.3
Step 5: Test the SSL/TLS Configuration
To ensure that your SSL/TLS configuration is working properly, you can test your server’s SSL/TLS status using the openssl command. For example, to test the Postfix mail server:
openssl s_client -connect mail.example.com:465For Dovecot’s IMAP server:
openssl s_client -connect mail.example.com:993These commands will initiate an SSL/TLS connection and show you the details of the handshake. Look for a successful connection and verify that the certificate is being used.
Step 6: Check Logs for SSL/TLS Errors
If you encounter issues, check the mail server logs for detailed error messages:
For Postfix:
sudo tail -f /var/log/mail.logFor Dovecot:
sudo tail -f /var/log/dovecot.logBy configuring SSL/TLS for both outgoing and incoming mail, you ensure secure communication between mail clients and your server. This helps protect sensitive data and maintains the privacy and integrity of your email exchanges. Always test the configuration after applying changes and monitor logs for potential errors or security issues.
Preparing Your VPS for a Mail Server Setup
Setting up a mail server on your VPS requires careful preparation to ensure smooth and secure operation. Below is a guide on how to prepare your VPS before configuring the mail server.
Step 1: Choose the Right VPS Plan
Before starting the setup, ensure that your VPS plan meets the requirements for running a mail server. A basic mail server setup typically requires:
- At least 1 GB of RAM (depending on the volume of mail traffic)
- Sufficient CPU resources
- Adequate disk space for storing emails
Additionally, ensure your VPS is running a stable and secure operating system such as Ubuntu, CentOS, or Debian.
Step 2: Update Your VPS
Make sure your VPS operating system is up to date with the latest security patches. You can update your server by running the following commands (depending on your OS):
- For Ubuntu/Debian:
sudo apt update && sudo apt upgrade -y - For CentOS:
sudo yum update -y
Updating the system ensures that you have the latest security patches and packages.
Step 3: Set Up a Fully Qualified Domain Name (FQDN)
A Fully Qualified Domain Name (FQDN) is essential for setting up a mail server. It allows the mail server to be correctly identified on the internet.
- Set the FQDN on your VPS. You can edit the
/etc/hostnamefile to set the hostname:sudo nano /etc/hostnameAdd your domain name, such as
mail.example.com. - After setting the hostname, update the
/etc/hostsfile to associate the IP address with the FQDN:sudo nano /etc/hostsAdd a line like the following, replacing
xxx.xxx.xxx.xxxwith your VPS’s IP address:xxx.xxx.xxx.xxx mail.example.com mail - Apply the changes by rebooting your VPS:
sudo reboot
Step 4: Set Up DNS Records
Your mail server requires DNS records to function correctly. The main records to configure are:
- MX (Mail Exchange) Record: This directs email traffic to your mail server.
- A Record: This links your mail server’s hostname to your VPS’s IP address.
- SPF (Sender Policy Framework) Record: Helps prevent email spoofing by specifying which mail servers are authorized to send email on behalf of your domain.
- DKIM (DomainKeys Identified Mail) Record: Provides cryptographic authentication of emails sent from your domain.
- DMARC (Domain-based Message Authentication, Reporting & Conformance) Record: Helps protect against email spoofing and phishing.
These DNS records should be set up through your domain registrar’s control panel.
Step 5: Install and Configure a Firewall
A firewall is crucial to secure your mail server from unauthorized access and attacks. You can use UFW (Uncomplicated Firewall) on Ubuntu/Debian or firewalld on CentOS.
- On Ubuntu/Debian:
sudo ufw allow 22,25,465,587,993,995,110,143,3306/tcp
sudo ufw enable
This opens the necessary ports for SSH (22), SMTP (25, 465, 587), IMAP (143, 993), POP3 (110, 995), and MySQL (3306) if used for storing mail data.
- On CentOS:
sudo firewall-cmd --permanent --add-port=22/tcp
sudo firewall-cmd --permanent --add-port=25/tcp
sudo firewall-cmd --permanent --add-port=465/tcp
sudo firewall-cmd --permanent --add-port=587/tcp
sudo firewall-cmd --permanent --add-port=993/tcp
sudo firewall-cmd --permanent --add-port=995/tcp
sudo firewall-cmd --reload
Step 6: Set Up a Mail Server User
For better security, create a dedicated user for managing mail services:
sudo useradd -m -s /bin/bash mailadmin
sudo passwd mailadmin
Assign the necessary permissions for mail-related directories to this user.
Step 7: Install Necessary Software Packages
Finally, install the mail server software on your VPS. Common software includes:
- Postfix for SMTP (outgoing mail)
- Dovecot for IMAP/POP3 (incoming mail)
- SpamAssassin for spam filtering
- ClamAV for virus scanning
For example, to install Postfix and Dovecot on Ubuntu:
sudo apt install postfix dovecot-core dovecot-imapd -yFor CentOS:
sudo yum install postfix dovecot -yPreparing your VPS for a mail server setup involves updating the system, configuring DNS records, ensuring proper firewall protection, and installing necessary software. Once these steps are completed, your VPS will be ready to host a secure and reliable mail server.
Setting up a mail server on your VPS ensures efficient and secure email communication. The process involves updating your VPS, configuring DNS records, and setting an FQDN. Security measures like firewalls and authentication help prevent unauthorized access. Installing Postfix and Dovecot, along with SSL/TLS encryption, secures email transmission. Proper setup of SMTP, IMAP, and POP3 ensures smooth functionality. Once configured, managing accounts, optimizing performance, and applying regular updates will maintain a reliable and secure mail server for your VPS.

Need a Linux Server for This?
Run Debian, Ubuntu, or any Linux distro on DropVPS — fast NVMe SSD, full root access, and 24/7 support. Perfect for everything you just read.
- Full Root Access
- Debian & Ubuntu Ready
- 99.99% Uptime
- 24/7 Support
No commitment · Cancel anytime