

Table of Contents
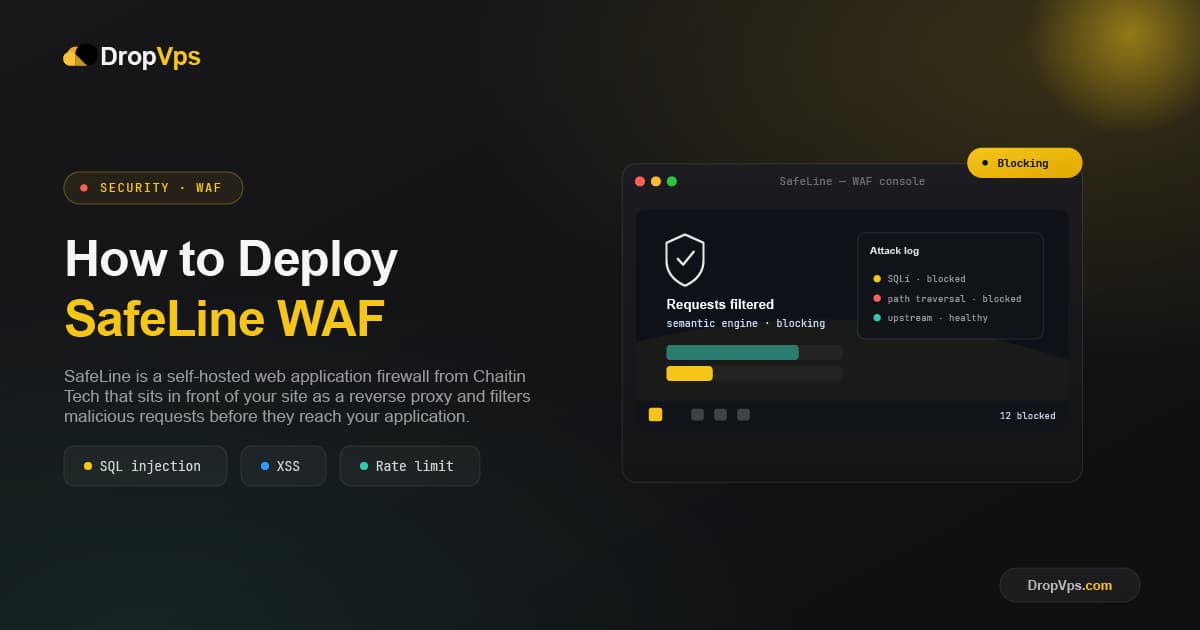
SafeLine is a self-hosted web application firewall from Chaitin Tech that sits in front of your site as a reverse proxy and filters malicious requests before they reach your application.
It differs from the classic ModSecurity approach in one important way: instead of matching requests against thousands of regular expression rules, SafeLine parses request payloads with a semantic analysis engine that understands SQL and script syntax. That means fewer false positives on legitimate traffic and better coverage of obfuscated payloads that regex rules miss.
This guide deploys SafeLine on a Linux VPS, protects a website with it, and configures the core protection features.
SafeLine WAF for Linux
Get the official installation script and current release before deploying it on your VPS.
Download from Official Website →Step 1: Check the Server Requirements
SafeLine has one hard requirement that catches people out: the CPU must be x86_64 and must support the SSE 4.2 instruction set. The detection engine is compiled against it. ARM-based servers are not supported by the standard installer.
Verify it on the VPS before installing anything:
cat /proc/cpuinfo | grep sse4_2If that returns nothing, the installation will fail regardless of what else you do. Any modern AMD EPYC or Intel Xeon VPS will pass.
The documented minimum is 1 CPU core, 1 GB RAM, and 5 GB of disk. That is enough to start the containers and protect a low-traffic site. For a production site, 2 to 4 cores and 4 GB RAM is the realistic target — the detection engine holds request bodies in memory while it analyses them, and the management container stores attack logs in a local database that grows with traffic volume.
Disk is driven by log retention. 20 GB is a reasonable starting allocation for a normal site.
Supported distributions are the mainstream ones: Ubuntu 20.04 and newer, Debian 11 and newer, and RHEL-family releases such as Rocky Linux and AlmaLinux 8 or 9.
Step 2: Install Docker
SafeLine runs entirely in Docker containers. The installer requires Docker Engine 20.10.14 or later and the Docker Compose plugin version 2.0.0 or later.
Check whether Docker is already present:
docker --version
docker compose version
If either is missing or too old, install the current release from Docker's official script:
curl -fsSL https://get.docker.com | bashStart Docker and enable it at boot:
systemctl enable --now dockerNote that the docker-compose package in most distribution repositories is the older v1 Python implementation. SafeLine needs the v2 plugin, which is what the script above installs. If docker compose version (no hyphen) fails, you have the wrong one.
Step 3: Run the SafeLine Installer
SafeLine ships an official installation script that pulls the container images, generates a compose file, and starts the stack.
Run it as root:
bash -c "$(curl -fsSLk https://waf.chaitin.com/release/latest/setup.sh)"The script asks for an installation directory. The default is:
/data/safelineAccept it unless you have a specific reason not to. That directory ends up holding the compose file, the environment file, the database, and the logs, so it needs to be on a partition with room to grow.
Installation takes several minutes while the images download. When it completes, the script prints the console URL and the initial admin credentials. Copy the password immediately — it is shown once.
Confirm the containers are running:
docker psYou should see containers including safeline-mgt (management and console), safeline-detector (the semantic detection engine), safeline-tengine (the proxy), safeline-pg (database), and safeline-fvm.
If a container is restarting in a loop, check its logs before moving on:
docker logs safeline-detectorStep 4: Open the Required Ports
SafeLine listens on port 9443 for the management console and on ports 80 and 443 for the traffic it proxies to your sites.
Allow SSH first:
ufw allow 22/tcpThen the proxied web traffic:
ufw allow 80/tcp
ufw allow 443/tcp
The console port should not be open to the whole internet. Restrict it to your own IP address:
ufw allow from YOUR.IP.ADDRESS.HERE to any port 9443 proto tcpEnable the firewall:
ufw enableIf you have a dynamic IP and cannot pin a source address, reach the console through an SSH tunnel from your local machine instead of exposing 9443 at all:
ssh -L 9443:127.0.0.1:9443 root@your-server-ipWith that tunnel open, the console is available locally at https://127.0.0.1:9443 and the port stays closed on the server.
Step 5: Log Into the Console
Open the management console in a browser:
https://your-server-ip:9443The console uses a self-signed certificate on first run, so the browser shows a warning. Proceed past it — this is the WAF's own admin interface, not the certificate your visitors will see.
Log in with the credentials the installer printed. If you lost them, generate a new admin password from the server:
docker exec safeline-mgt resetadminThat command prints a fresh password for the admin account.
SafeLine prompts you to enable two-factor authentication on first login. Do it. The console can rewrite the routing for every site behind the WAF, so it is a high-value target.
Step 6: Add a Protected Site
A protected site in SafeLine is a mapping between a domain the WAF listens for and the upstream server it forwards clean traffic to.
In the console, go to:
Sites → Add SiteFill in four things.
Domain. The hostname visitors use, for example example.com. Add www.example.com as a second entry if you serve both.
Port. The port SafeLine listens on for this site. Use 443 with SSL enabled for a public site, or 80 if you are testing before certificates are in place.
Upstream server. The address of your actual web server, in the form http://IP:PORT. If the application runs on the same VPS, this is the local address your web server binds to — for example http://127.0.0.1:8080. If the application is on a different server, use its private IP.
SSL certificate. Upload the certificate and private key for the domain, or paste them in. SafeLine terminates TLS, inspects the decrypted request, then forwards it upstream.
Save the site.
The critical piece of this architecture: your backend web server must no longer listen on the public ports. If Nginx or Apache is still bound to 0.0.0.0:443, attackers can bypass the WAF entirely by connecting to the origin directly. Rebind the backend to loopback or to a non-public port, and make sure the firewall blocks direct access to it.
If the application is on a separate server, restrict its firewall to accept connections only from the WAF's IP address.
Step 7: Point DNS at the WAF
Traffic only gets filtered if it arrives at SafeLine. Update the A record for the domain to point at the VPS running the WAF:
example.com A your-waf-server-ipVerify resolution before testing:
dig +short example.comThen confirm the site loads normally through the WAF:
curl -I https://example.comExpected output is your application's usual response, with a valid certificate. If you get a 502, the upstream address in the site configuration is wrong or the backend is not reachable from the WAF container.
Check that the WAF is actually seeing the traffic by opening:
DashboardRequest counts should start climbing as you browse the site.
Step 8: Configure Protection Modules
Out of the box, the semantic detection engine is active and blocking injection attacks. The remaining modules are configured per site.
Attack detection is the core engine, covering SQL injection, cross-site scripting, command injection, path traversal, and XXE. It is on by default. Leave it in blocking mode for production; observation mode logs attacks without stopping them, which is only useful during initial tuning.
Rate limiting caps how many requests a single source IP can make in a time window. Configure it under the site's protection settings. Set the threshold from your real traffic patterns — a limit tighter than your own homepage's asset count will block legitimate first-time visitors.
Human verification (CAPTCHA challenge) presents a challenge page to suspicious clients rather than blocking outright. This is the right tool for scrapers and low-grade bot traffic, where a hard block produces support tickets from real users on shared IPs.
Authentication challenge puts an access-code gate in front of a specific path. Useful for admin panels — /wp-admin, /administrator, and similar — where you want a layer of protection that does not depend on the application's own login being sound.
IP allow and deny lists handle the known cases: whitelist your office IP and your monitoring probes, blacklist sources you have already identified as hostile.
Every module is configured per site, so a staging site and a production site under the same instance can have different policies.
Step 9: Tune False Positives
Semantic detection produces far fewer false positives than regex rule sets, but not zero. Applications that legitimately accept SQL fragments, raw HTML, or serialised payloads will trip it.
Find what is being blocked in:
Events → Attack LogsEach entry shows the full request, which rule matched, and the source IP. Read the actual request before assuming it is a false positive — a surprising share of "our CMS broke" reports turn out to be a genuine injection attempt against a plugin.
When a block is genuinely wrong, create a targeted exception rather than disabling the module. Add a whitelist rule scoped to the specific URL path and parameter under:
Rules → Whitelist → Add RuleScope the exception as narrowly as the application allows. A whitelist on a single parameter of a single endpoint leaves the rest of the site protected; a whitelist on /api/* removes protection from your entire API surface.
Run in observation mode for the first day or two on a site with unusual traffic, collect the log, write the exceptions, then switch to blocking.
Step 10: Set Up Updates and Backups
SafeLine updates through the same script that installed it. Re-running it pulls the current images and restarts the stack:
bash -c "$(curl -fsSLk https://waf.chaitin.com/release/latest/setup.sh)"The detection engine's rule set updates independently and automatically, so you are not dependent on a full version upgrade for new attack coverage.
Back up the configuration directory. It contains your site definitions, certificates, and rules:
tar -czf safeline-backup-$(date +%F).tar.gz /data/safelineRun that once by hand and confirm the archive is a sensible size before you trust it to cron. Store the result off the server — a backup on the same disk protects you from a bad config change and from nothing else.
Watch disk usage on the log volume. Attack logs on a site under sustained scanning grow quickly, and a full disk stops the containers, which takes your site offline through the very thing meant to protect it.
Related Guide
Linux VPS Hosting for SafeLine WAFSafeLine needs an x86_64 CPU with SSE 4.2 support and enough RAM for the detection engine to inspect request bodies in memory.
SafeLine is now terminating TLS, inspecting every request semantically, and forwarding only clean traffic to your backend. The two things worth checking a week from now are the attack log for false positives you have not yet excepted, and the disk usage on the log volume.

Follow DropVPS on Google
Add DropVPS as a preferred source to see our latest VPS guides and tutorials surfaced first in Google Search and AI Overviews.
Need a Linux Server for This?
Run Debian, Ubuntu, or any Linux distro on DropVPS — fast NVMe SSD, full root access, and 24/7 support. Perfect for everything you just read.
- Full Root Access
- Debian & Ubuntu Ready
- 99.99% Uptime
- 24/7 Support
No commitment · Cancel anytime