

Table of Contents
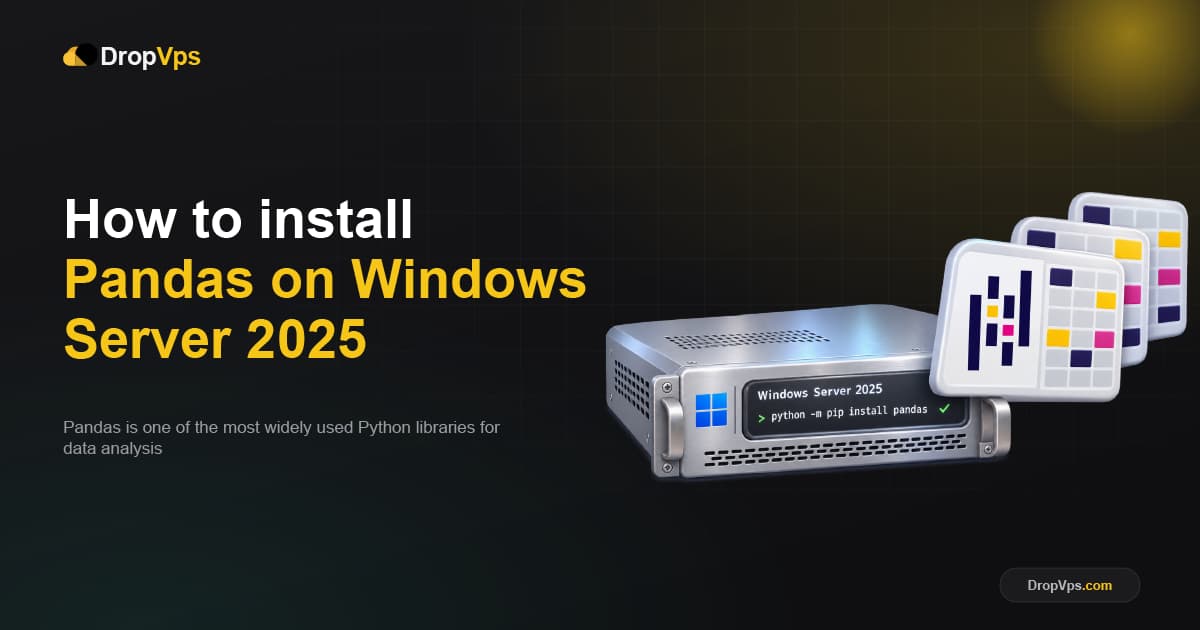
Pandas is one of the most widely used Python libraries for data analysis, data manipulation, and working with structured datasets. It provides powerful tools for reading CSV and Excel files, cleaning data, handling missing values, filtering records, and performing statistical calculations. Installing Pandas on Windows Server 2025 allows developers, data analysts, and system administrators to run Python-based data processing tasks in a server environment.
Step 1: Install Python on Windows Server 2025
Before installing Pandas, make sure Python is installed on your server. Download Python from the official website and follow the installation instructions.During installation, enable the option to add Python to PATH if available.Open PowerShell and run the following
Official website: https://www.python.org/downloads/windows/command to check the installation:
python --versionStep 2: Check Whether pip Is Installed
Pip is Python's package installer. It allows you to download and install libraries such as Pandas.If pip is available, its version and installation location will appear.Run this command in PowerShell.
python -m pip --versionStep 3: Upgrade pip
Updating pip can help prevent installation problems and ensure that the package installer is up to date.Wait for the process to finish before moving to the next step.Run the following command.
python -m pip install --upgrade pipStep 4: Create a Virtual Environment
A virtual environment keeps project dependencies separate from other Python projects. This is recommended when installing packages on a server.If PowerShell blocks script execution, you can use
mkdir C:\PandasProject
cd C:\PandasProject
you can use Command Prompt instead:
python -m venv .venv
.\.venv\Scripts\Activate.ps1
Step 5: Install Pandas Using pip
Once your virtual environment is active, install Pandas with the following command:Pip will download Pandas and its required dependencies from the Python Package Index (PyPI). Wait until the installation completes successfully.
python -m pip install pandasOfficial documentation:
Official documentation: https://pandas.pydata.org/docs/getting_started/install.htmlStep 6: Verify the Pandas Installation
After installation, check whether Python can import Pandas and display its version.If the command displays a version number without an error, Pandas is installed successfully.
python -c "import pandas as pd; print(pd.__version__)"Step 7: Test Pandas with a Simple Example
Create a small DataFrame to confirm that Pandas can create and display tabular data.This confirms that Pandas can create and display a basic data table.Run the following command:
python -c "import pandas as pd; df = pd.DataFrame({'Name': ['Alice', 'Bob'], 'Age': [25, 30]}); print(df)"The output should look similar to this:
Name  Age
0  Alice   25
1    Bob   30
Step 8: Troubleshoot Common Installation Errors
If Pandas installation fails, the problem may be related to pip, Python compatibility, or your internet connection. Use the following commands to upgrade pip and reinstall Pandas.
python -m pip install --upgrade pipUpgrade pip and check your Python version before trying again:
python -m pip install --upgrade pip
python -m pip install pandas
Follow DropVPS on Google
Add DropVPS as a preferred source to see our latest VPS guides and tutorials surfaced first in Google Search and AI Overviews.
Need a Windows Server?
DropVPS Windows VPS gives you full Admin RDP access, instant setup, and dedicated resources — run any Windows workload without limits.
- Full Admin Access
- RDP Ready Instantly
- Dedicated Resources
- 24/7 Support
No commitment · Cancel anytime